Carve up your pumpkin for Halloween and turn the insides into a deliciously crispy, crackly, salted snack - Roasted Pumpkin Seeds. (Skip to recipe.)
 It's almost Halloween. Have you carved your pumpkin yet?
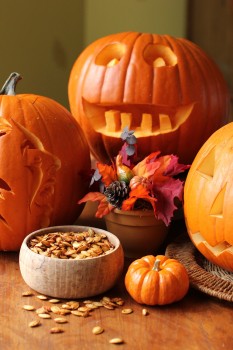
The ghosties and goblins are gearing up, the witches are stirring their bubbling brew, and the jack o' lanterns are grinning their crazy grins.
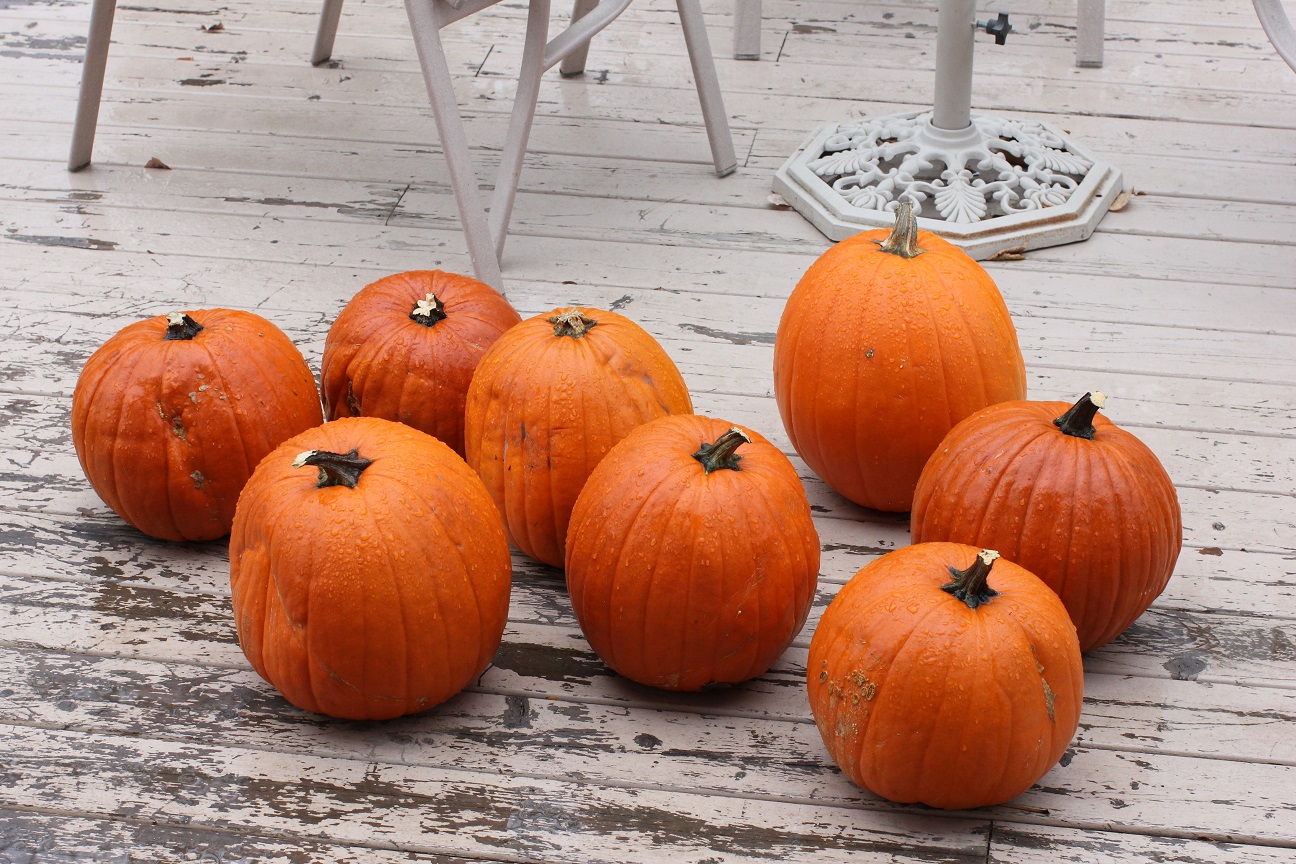
Our pumpkins are rarin' and ready to go. That little skiff of snow on the ground won't stop them - their grins may just be more spookily devilish, and of course the ghosties will camouflage in all that misty white stuff when the night of fright rolls around.
We're rarin' and ready to go, too.
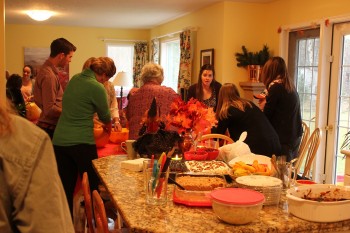
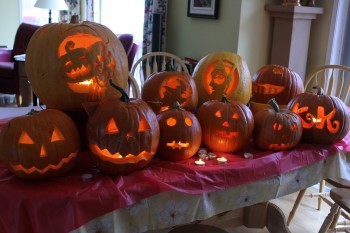
On Sunday we hosted a proper Punkin Carving Party - complete with gingered pumpkin soup and a slew of pumpkin party desserts.
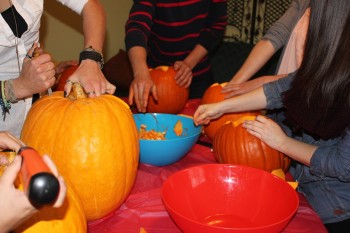
 I tell you - all hands were busy and pumpkin guts were flying.
And when you have pumpkin guts . . . you have pumpkin seeds . . . and when you have pumpkin seeds . . . you have to drizzle 'em with oil, sprinkle 'em with salt, and roast 'em until they are crackly and crunchy and irresistible . . .
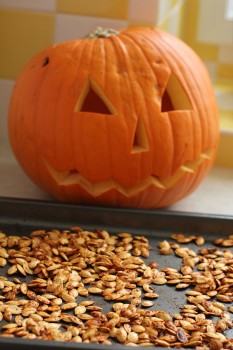 Roasted pumpkin seeds are that once-a-year reward for our pumpkin-carving efforts. We eagerly wait for them every October. It takes a bit of patience to pick the seeds out of the pumpkin 'guts', but it is so worth the effort.
They're wonderful when they're still slightly warm from the oven, either just lightly salted or with a hint of spice.
* * * * *

Roasted Pumpkin Seeds
For every cup of pumpkin seeds you will need:
- 2 teaspoons olive oil
- ¼ teaspoon salt
- ¼ teaspoon onion powder (optional)
- ¼ teaspoon paprika - regular, smoked mild, or smoked hot (optional)
Carve your pumpkin - see below.
Preheat the oven to 325°F.
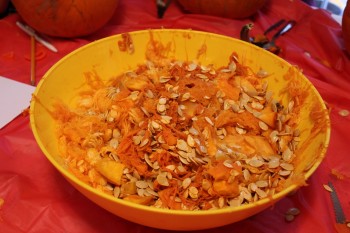
Pick the pumpkin seeds out of the stringy bits you've scraped from the inside of the pumpkin. There's no need to rinse them or meticulously pick off every bit of pumpkin flesh. Just remove any small, flat, undeveloped seeds and all the big stringy bits - the little stringy bits caramelize as they bake and add extra pumpkin flavour to your seeds. Don't wash that goodness off.
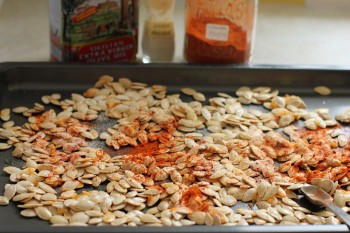
Measure your seeds. Dump them onto a cookie sheet. For every cup of seeds, drizzle them with 2 teaspoons olive oil and sprinkle with ¼ teaspoon salt. Add the onion powder and/or paprika if using them. Use two spatulas or wooden spoons to toss the seeds so they are evenly coated with the oil. Spread them out into a roughly even layer.
 Bake for 25 to 30 minutes, stirring them every 10 minutes. When the bits of pumpkin stuck to the seeds turn a deep golden brown, the seeds are done. They will go quickly from golden brown to 'oops - too dark' so start watching them carefully around the 25 minute mark. If your oven runs hot, check them even earlier.
Let cool in the pan. You will hear small crackling sounds as the seeds cool.
* * * * *
How to Carve a Pumpkin to Make a Jack o'Lantern
It's called a pumpkin until it's carved - then it becomes a Jack o'Lantern - woooooo hoooo, wooooooo hoooo. . . .
Cut a circle (smooth or zig-zag in shape) into the top of the pumpkin, around the stem. Using the stem as a handle, pull out the cap you've just carved. Scrape any stringy bits off the inside of the cap with a large metal spoon.
Cut a notch out of the back side of the cap's edge so you have a 'chimney hole' to vent the smoke when you put a candle into the jack o'lantern.
Scrape the seeds and stringy bits from the inside of the pumpkin using the spoon. Scrape right down to the pumpkin flesh to make a smooth interior. Save the the pumpkin 'guts' in a bowl so you can pick out the seeds to roast later.
Turn the pumpkin around to find the side of the pumpkin which 'speaks' to you and will lend itself best to the face or picture you'd like to carve. Use a small, sharp paring knife to cut out pieces to make eye, nose and mouth shapes for either a spooky or silly face. Triangles for eyes and nose are traditional, with either a zig-zag style of mouth or a toothy grin or frown.
You can also draw a design onto a piece of paper, tape it in place on the pumpkin, and use a toothpick, skewer, or darning needle to poke small holes through the paper all along the lines of your design to transfer it to the pumpkin. Then remove the paper and cut along the dotted lines you've created to carve your design into the pumpkin.
Remove the pieces you've cut. You can also just carve out bits of the skin, letting the pumpkin flesh show, to make lighter areas.
Place a lit tealight or short thick candle inside, and replace the lid.
Turn out the lights to see your spooky creation!
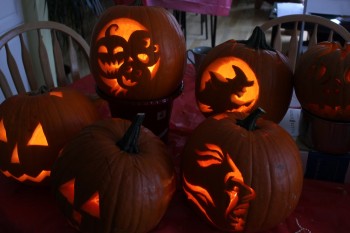
Happy Carving and Guten Appetit!
Want to receive new Kitchen Frau recipes directly to your email? Sign up here and you’ll get a handy and useful kitchen tip along with each recipe, too. (No spam ever.)
If you like my recipes, follow me on Instagram, Pinterest, Twitter, and Facebook. You’d make my day!
You might also like:
Gingered Pumpkin Soup with Creamy Crunchy Toppings
Healthy Fudge with a Wicked Alias
Pumpkin Pie Granola and How to Bake a Pumpkin
WENDY STADNICK
Thanks so much for the great pumpkin carving party..........it was soooooooo fun.
Great friends, lots of fun, and the food and drink were out of this world. Margaret you never cease to amaze me with your wonderful hostess skills, thanks again.
Happy Halloween
Margaret
Thanks so much, Wendy. It was the great company that made the get-together so much fun! Working together gets the creative juices flowing - and the laughter, too. Ghosts and goblins beware! We're ready for Halloween!