
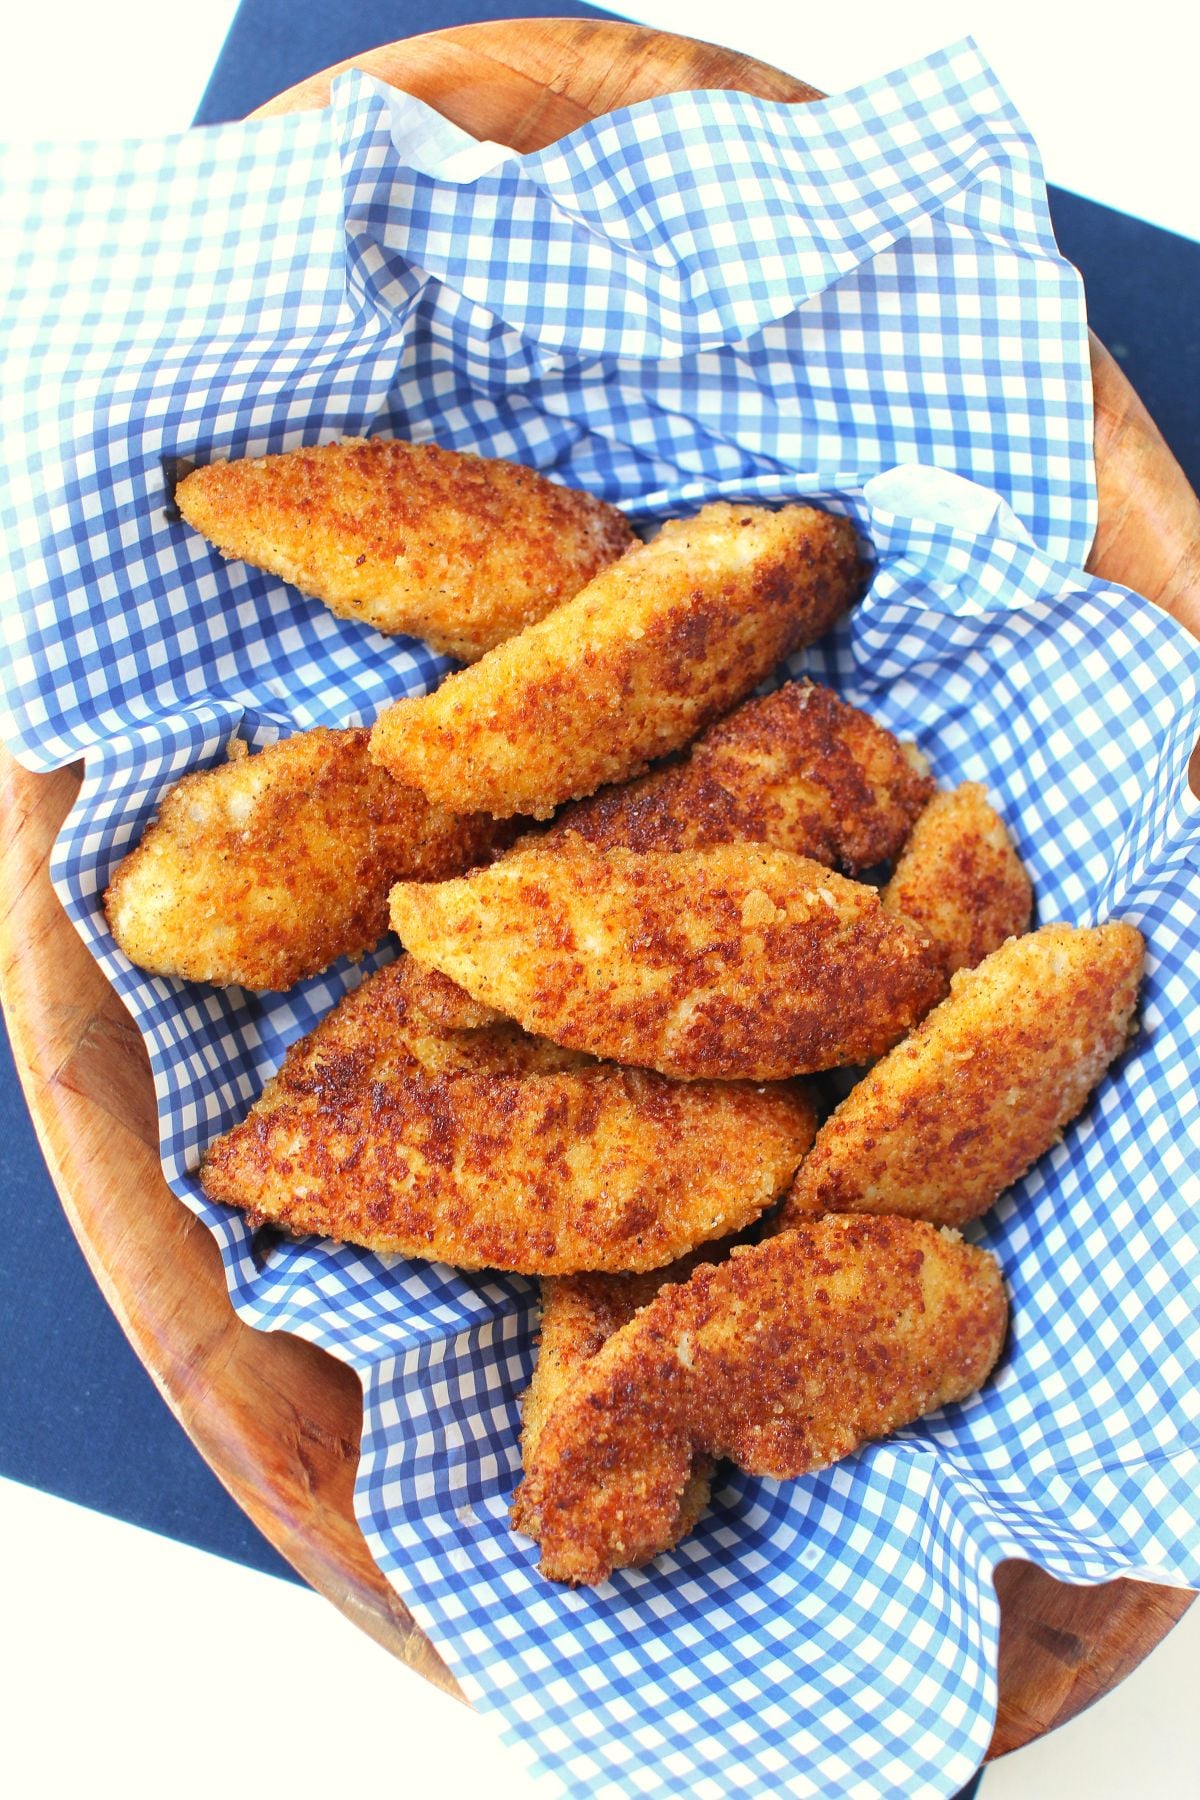
These crispy, cheesy chicken fingers will get devoured not only by the kids in the household, but are irresistible to grown-ups, too! They're an easy cooking project to make with kids and a delicious, quick meal any night of the week. (Easily made gluten-free, too.)
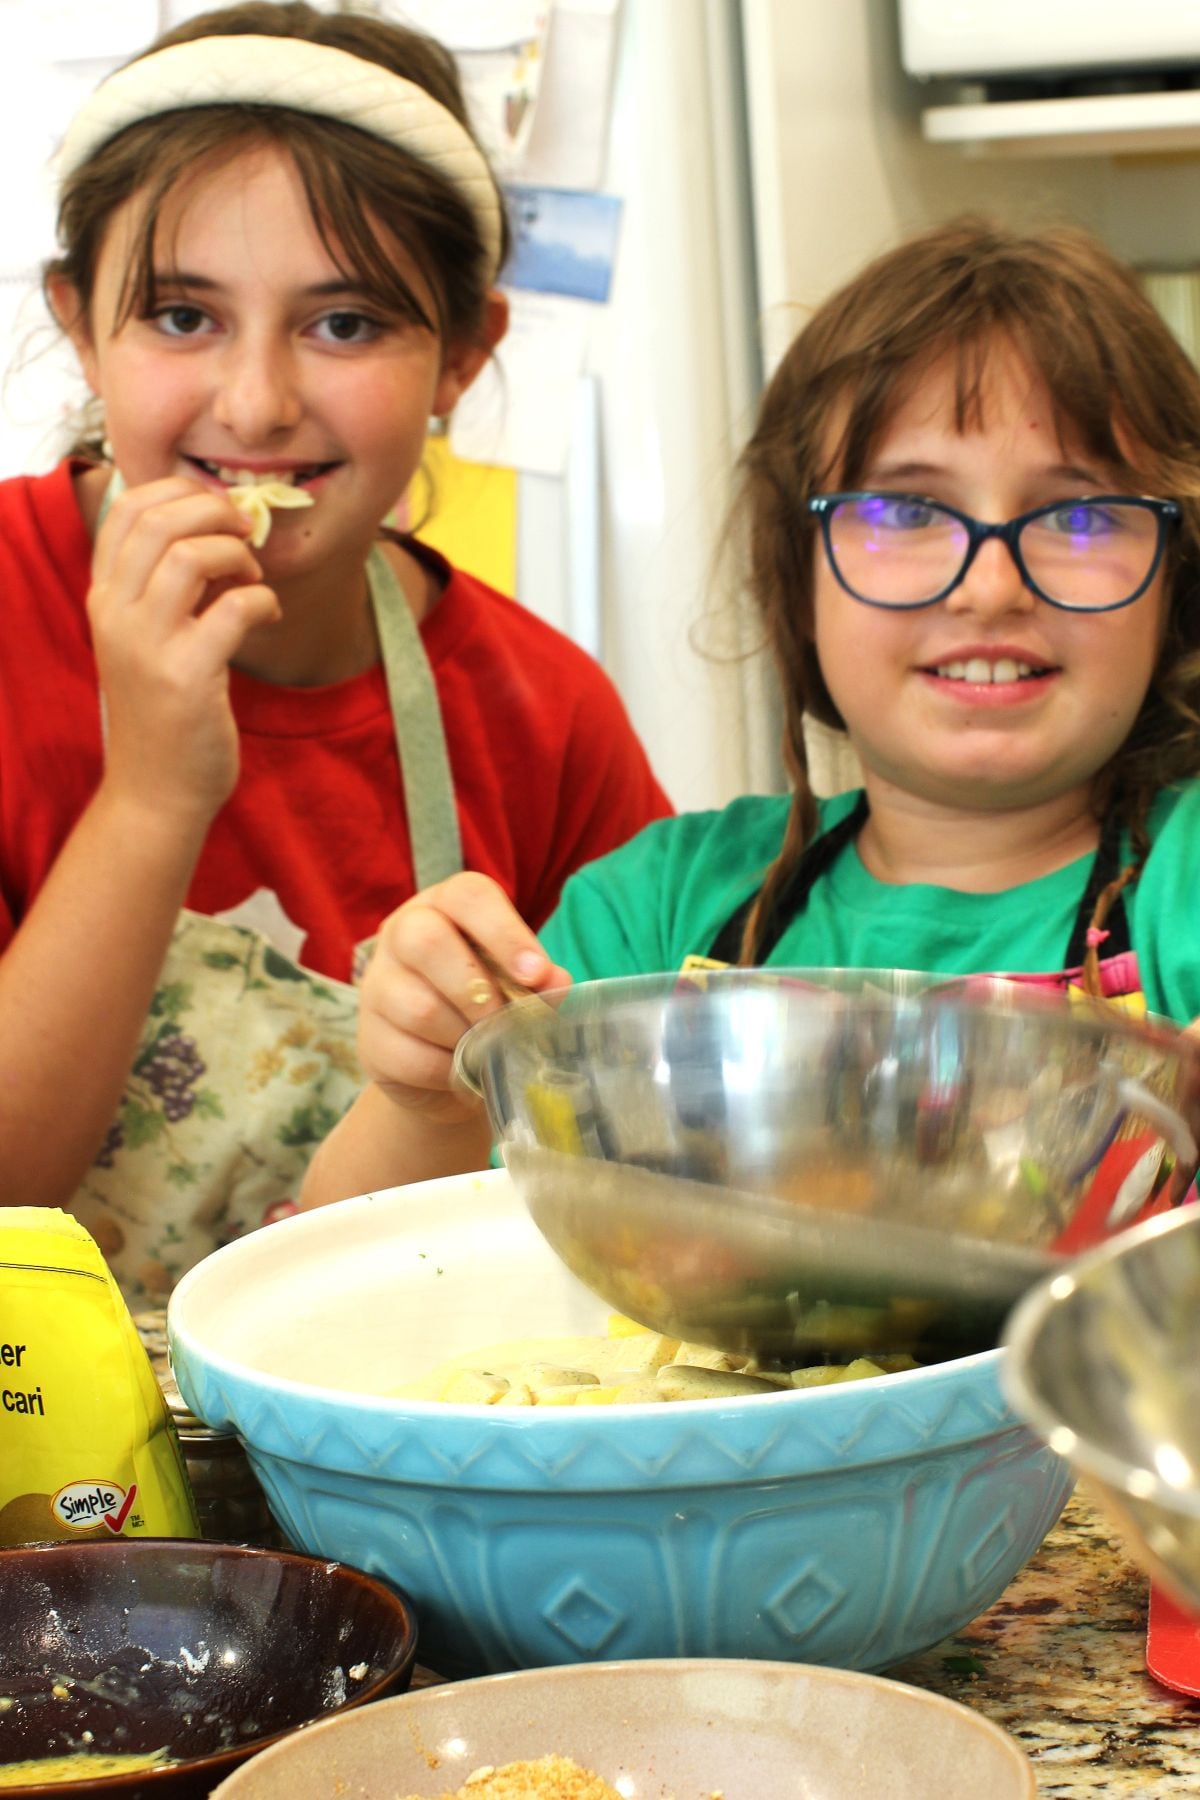
Meet my two young sous-chefs, sisters Willow and Ivy. Willow is 11, and Ivy is 9, and they love cooking and baking, along with doing gymnastics, playing with their dog, and listening (and dancing) to all kinds of music. They came over for a fun day of playing in the kitchen, and we got busy doing everything from making homemade soft bagels to baking and decorating mini vintage cakes. For lunch, we made a batch of these crispy, cheesy chicken fingers - a HUGE hit with the girls (and also us big kids 😉) and a pasta salad (recipe coming soon).
A Kid-Friendly Recipe
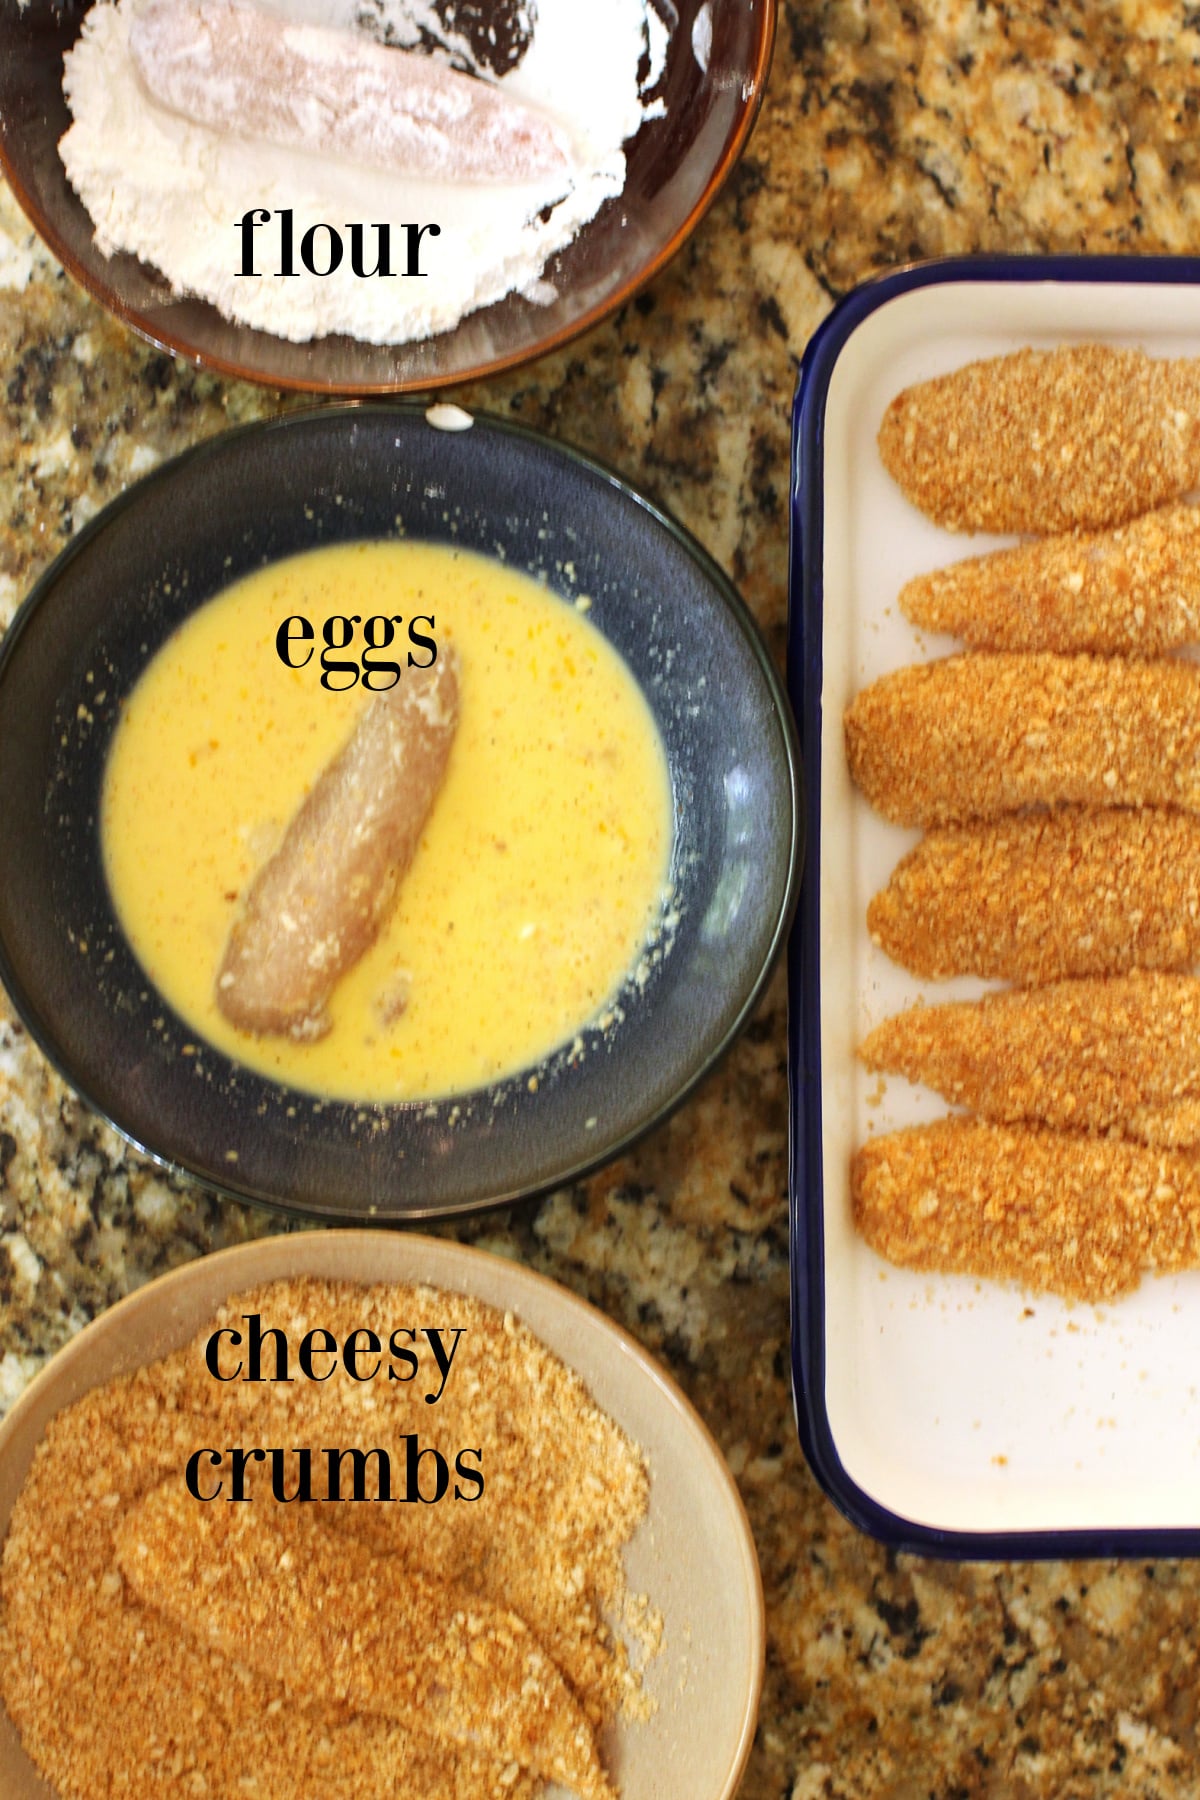
The cheesy chicken fingers are coated in a crunchy crumb crust laced with Parmesan cheese and spices, and the insides contain tender and juicy white chicken meat - a real treat. This recipe is fun to do with kids, since they can learn the system of a 'breading parade', in which the food to be fried is coated in flour, then beaten egg, then seasoned crumbs. This is a classic method for coating many fried foods, from schnitzel to arancini.
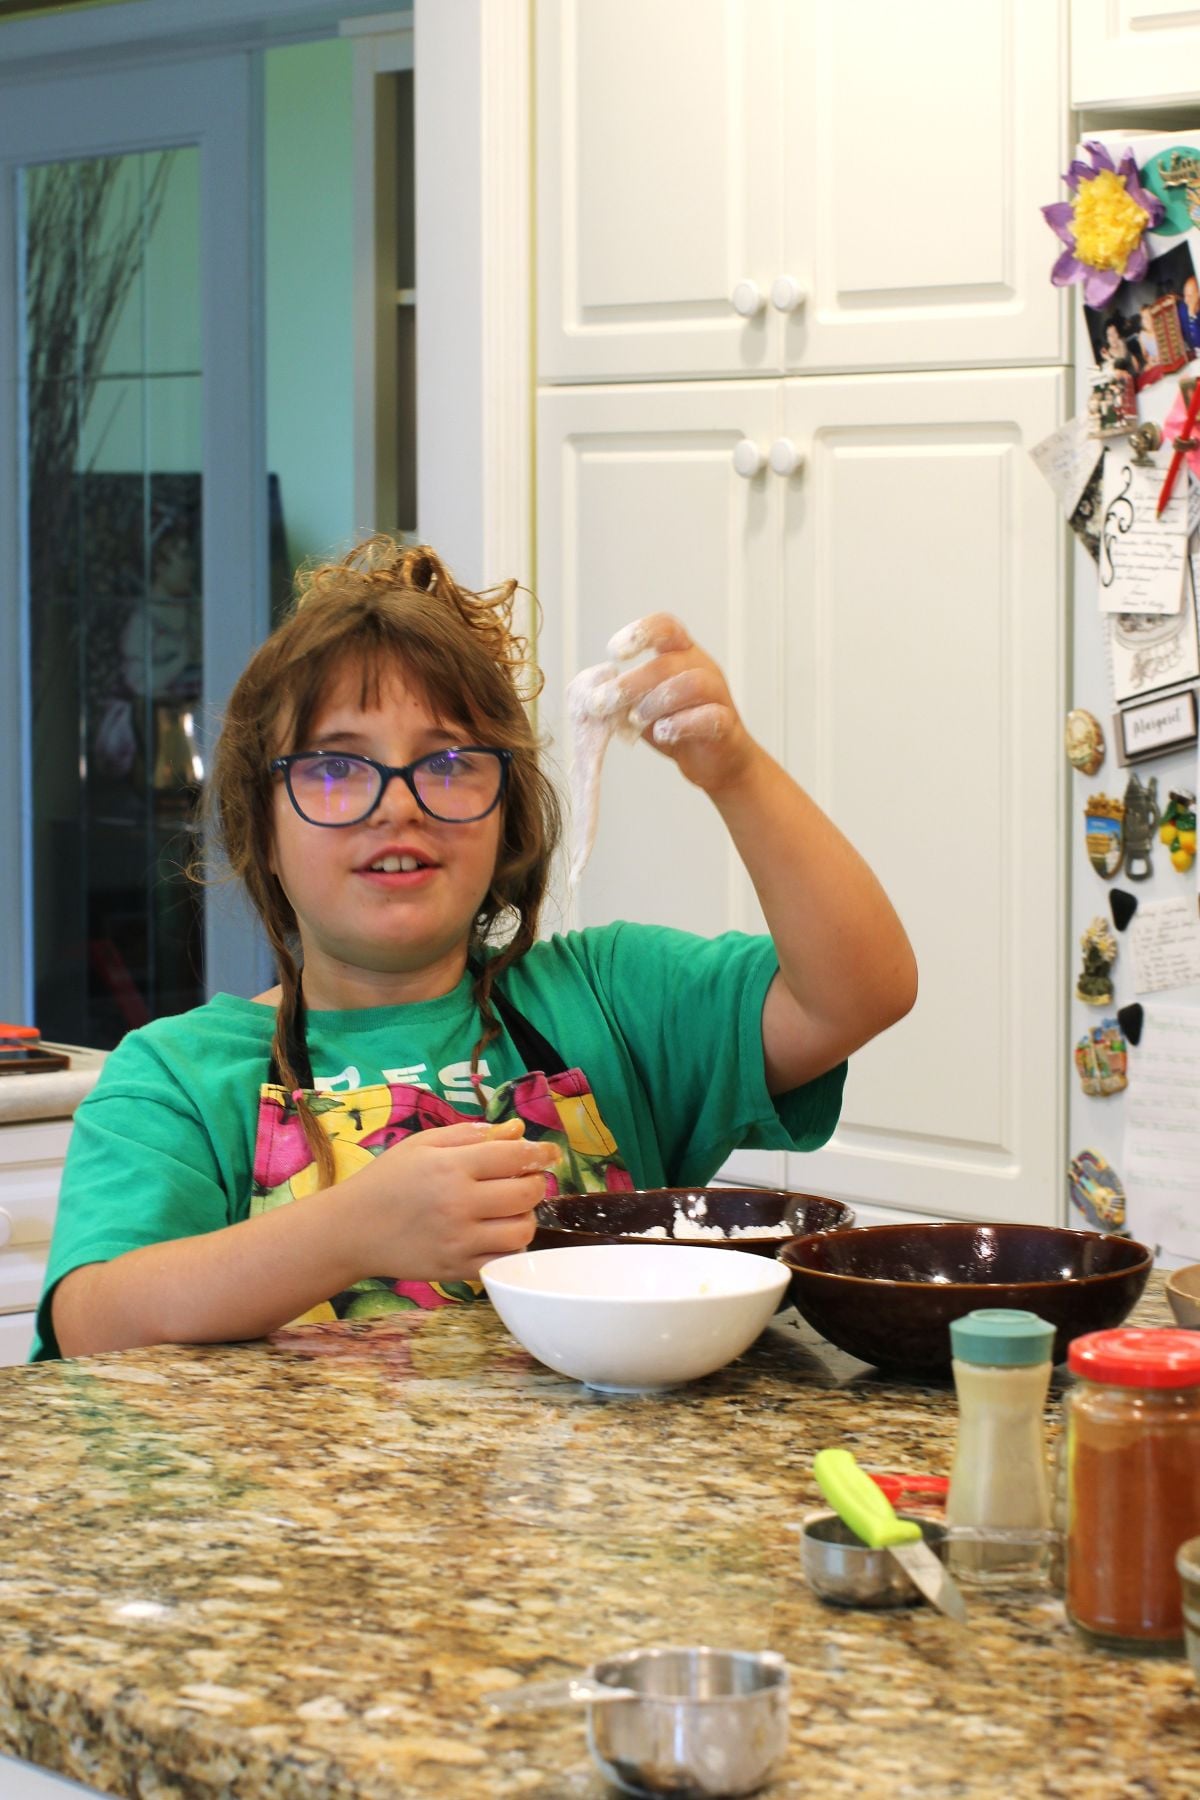
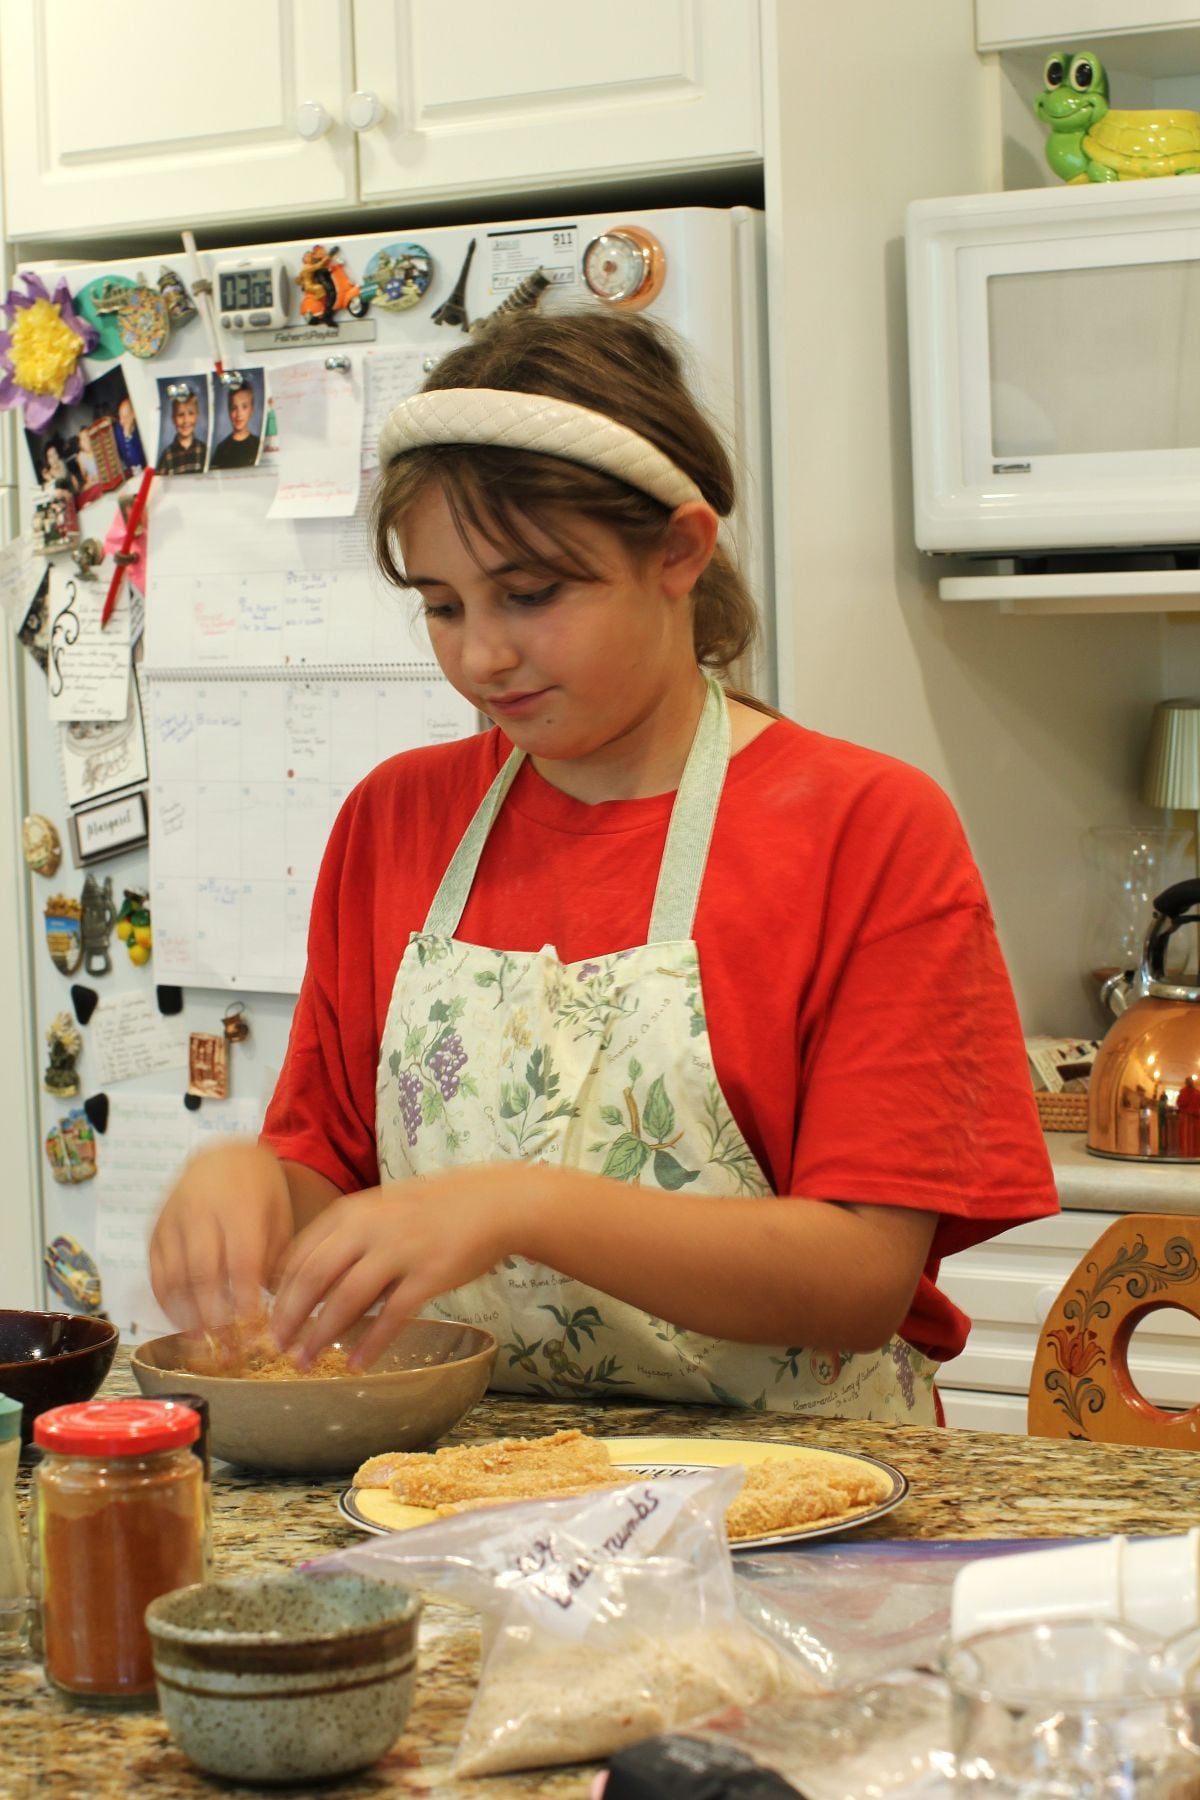
The coated pieces of chicken tenders are then quickly pan-fried to golden deliciousness.
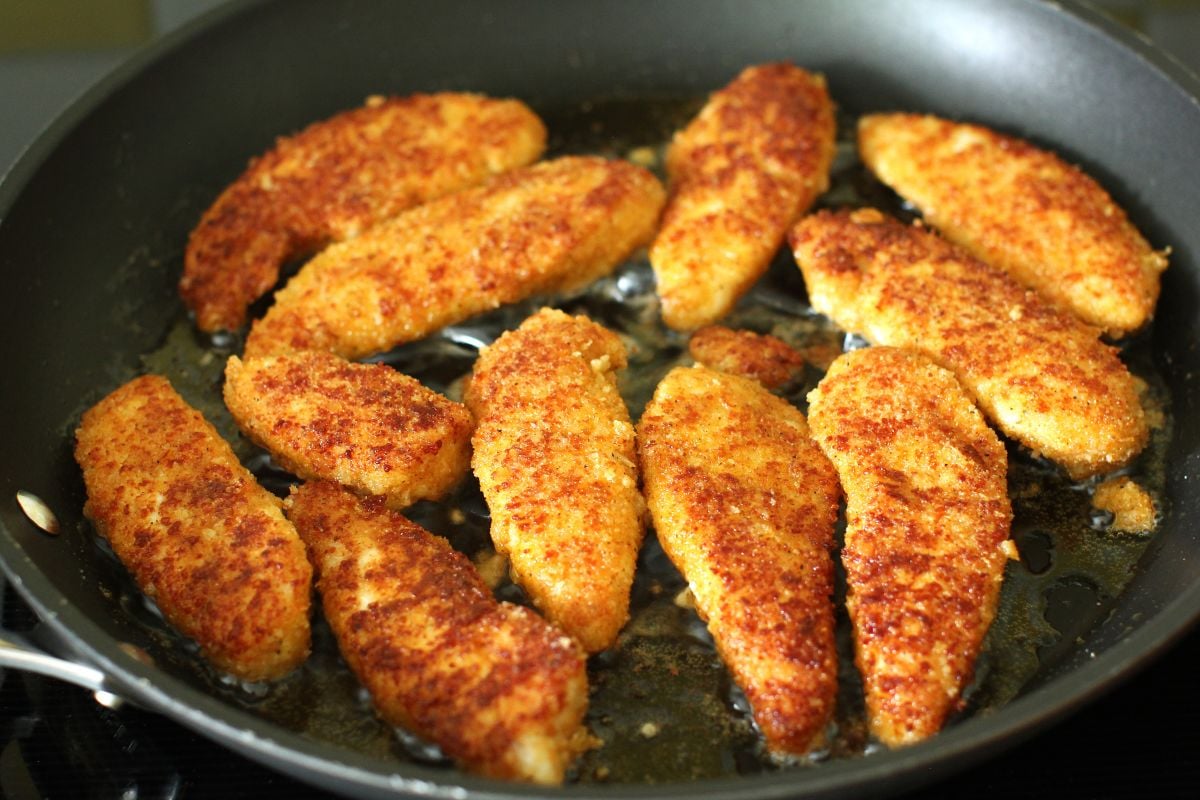
Who doesn't love a crispy fried treat now and then?
And they're a wonderful quick meal on busy school nights, or delicious to pack to eat cold in school lunches - so much better than a sandwich!
What You'll Need
Chicken tenders are the fillet pieces often removed from skinless, boneless chicken breasts. These really are tender little morsels of meat - a prime fillet. But if you can't find them packaged separately, use skinless, boneless chicken breasts and cut them into lengthwise strips to make 'fingers'.
To make these chicken fingers gluten-free, we used sweet rice flour for coating the tenders, but you can use any gluten-free flour blend, or just regular all-purpose flour for non-gluten-free.
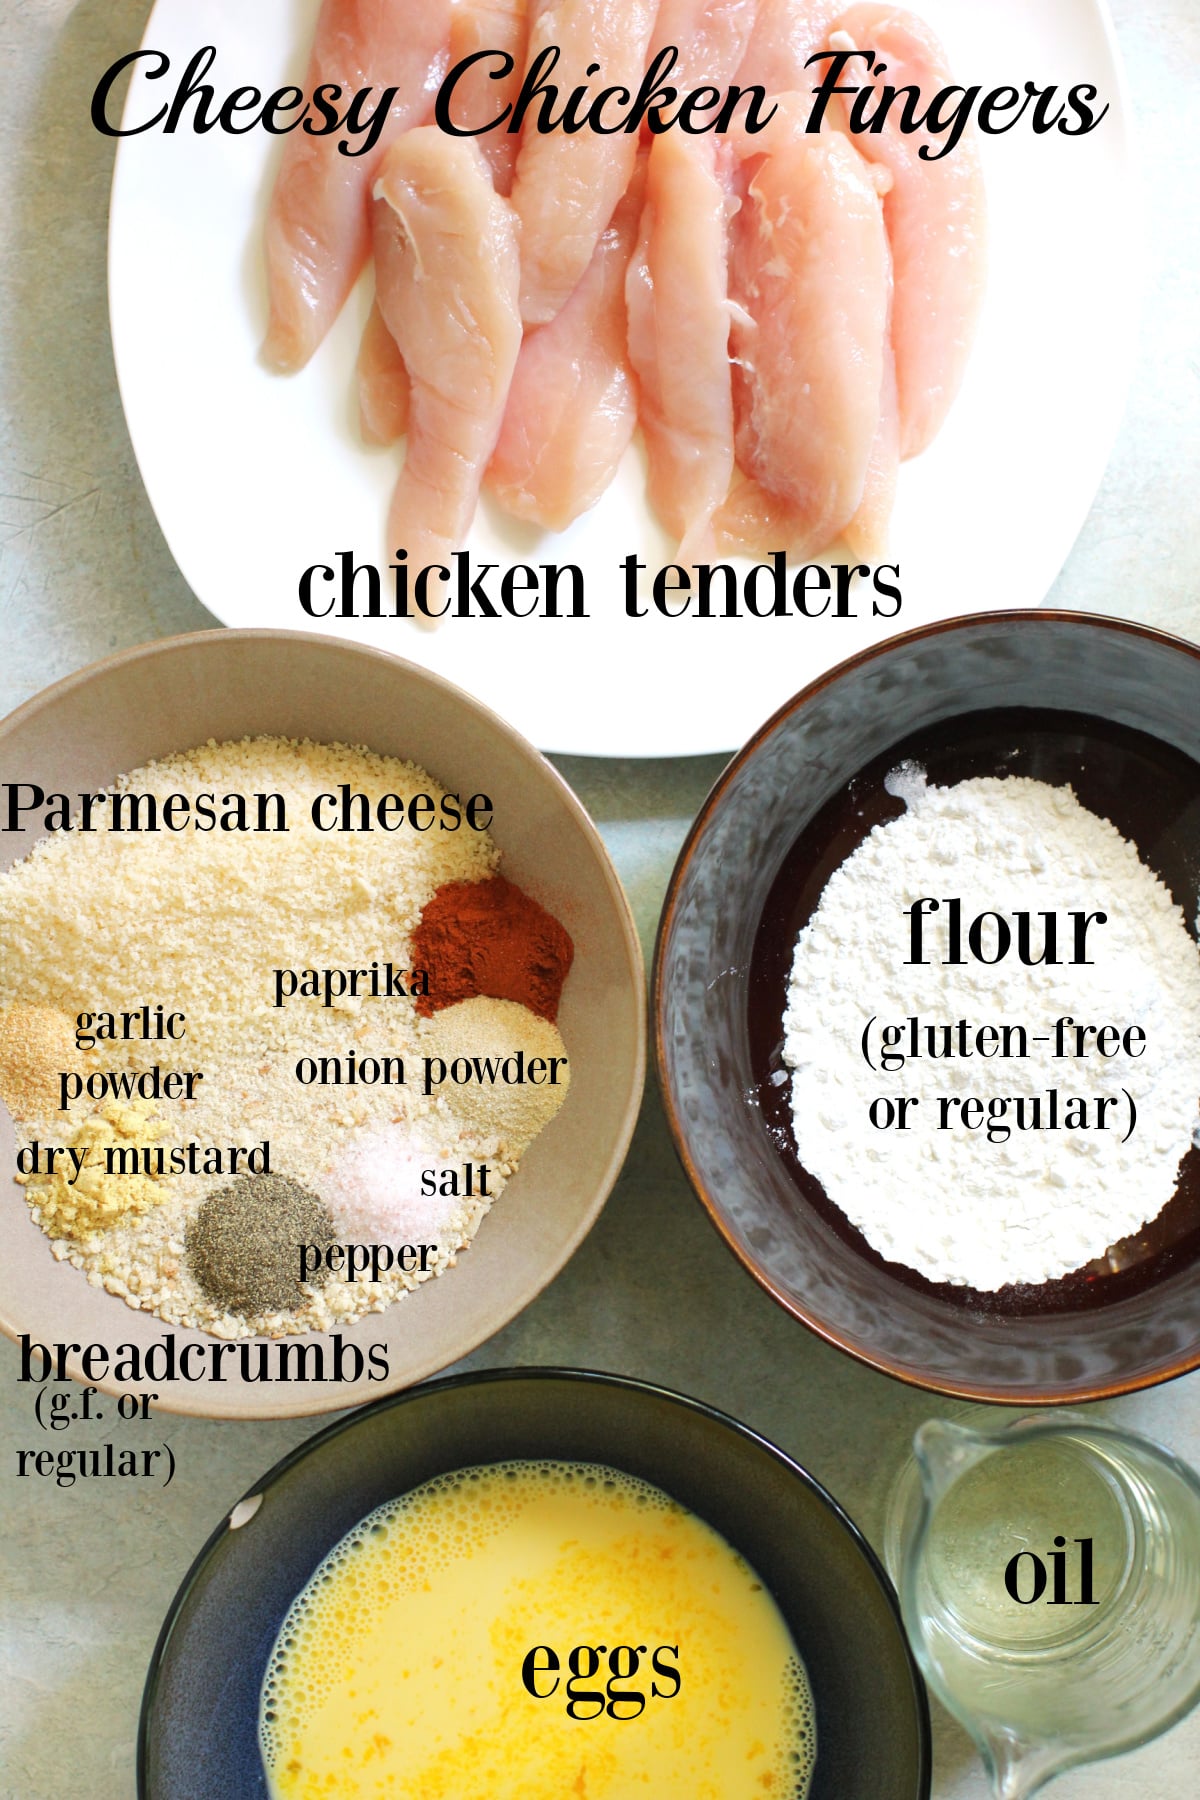
The breadcrumbs can be any fine, dry, regular crumbs, or gluten-free crumbs, if necessary (if you use gluten-free panko crumbs, it's best to whiz them a bit first in a food processor or mini chopper, as they can be quite large and hard, so they don't stick as well to the chicken fingers).
How to Make Cheesy Chicken Fingers
Dip each chicken tender first in the flour, then shake off the excess. Next, it goes into the beaten eggs. Then, it gets coated with the seasoned breadcrumbs. Set the coated chicken fingers on a plate or tray, and they are ready to fry.
Cheesy Chicken Fingers for an Impromptu Picnic
Willow and Ivy thought it would be fun to have a picnic to enjoy all of our kitchen efforts, and a lovely picnic it was! The cheesy chicken fingers were still wonderfully crunchy and tasty, even at room temperature, and went well with our curried pasta salad and homemade pretzels.
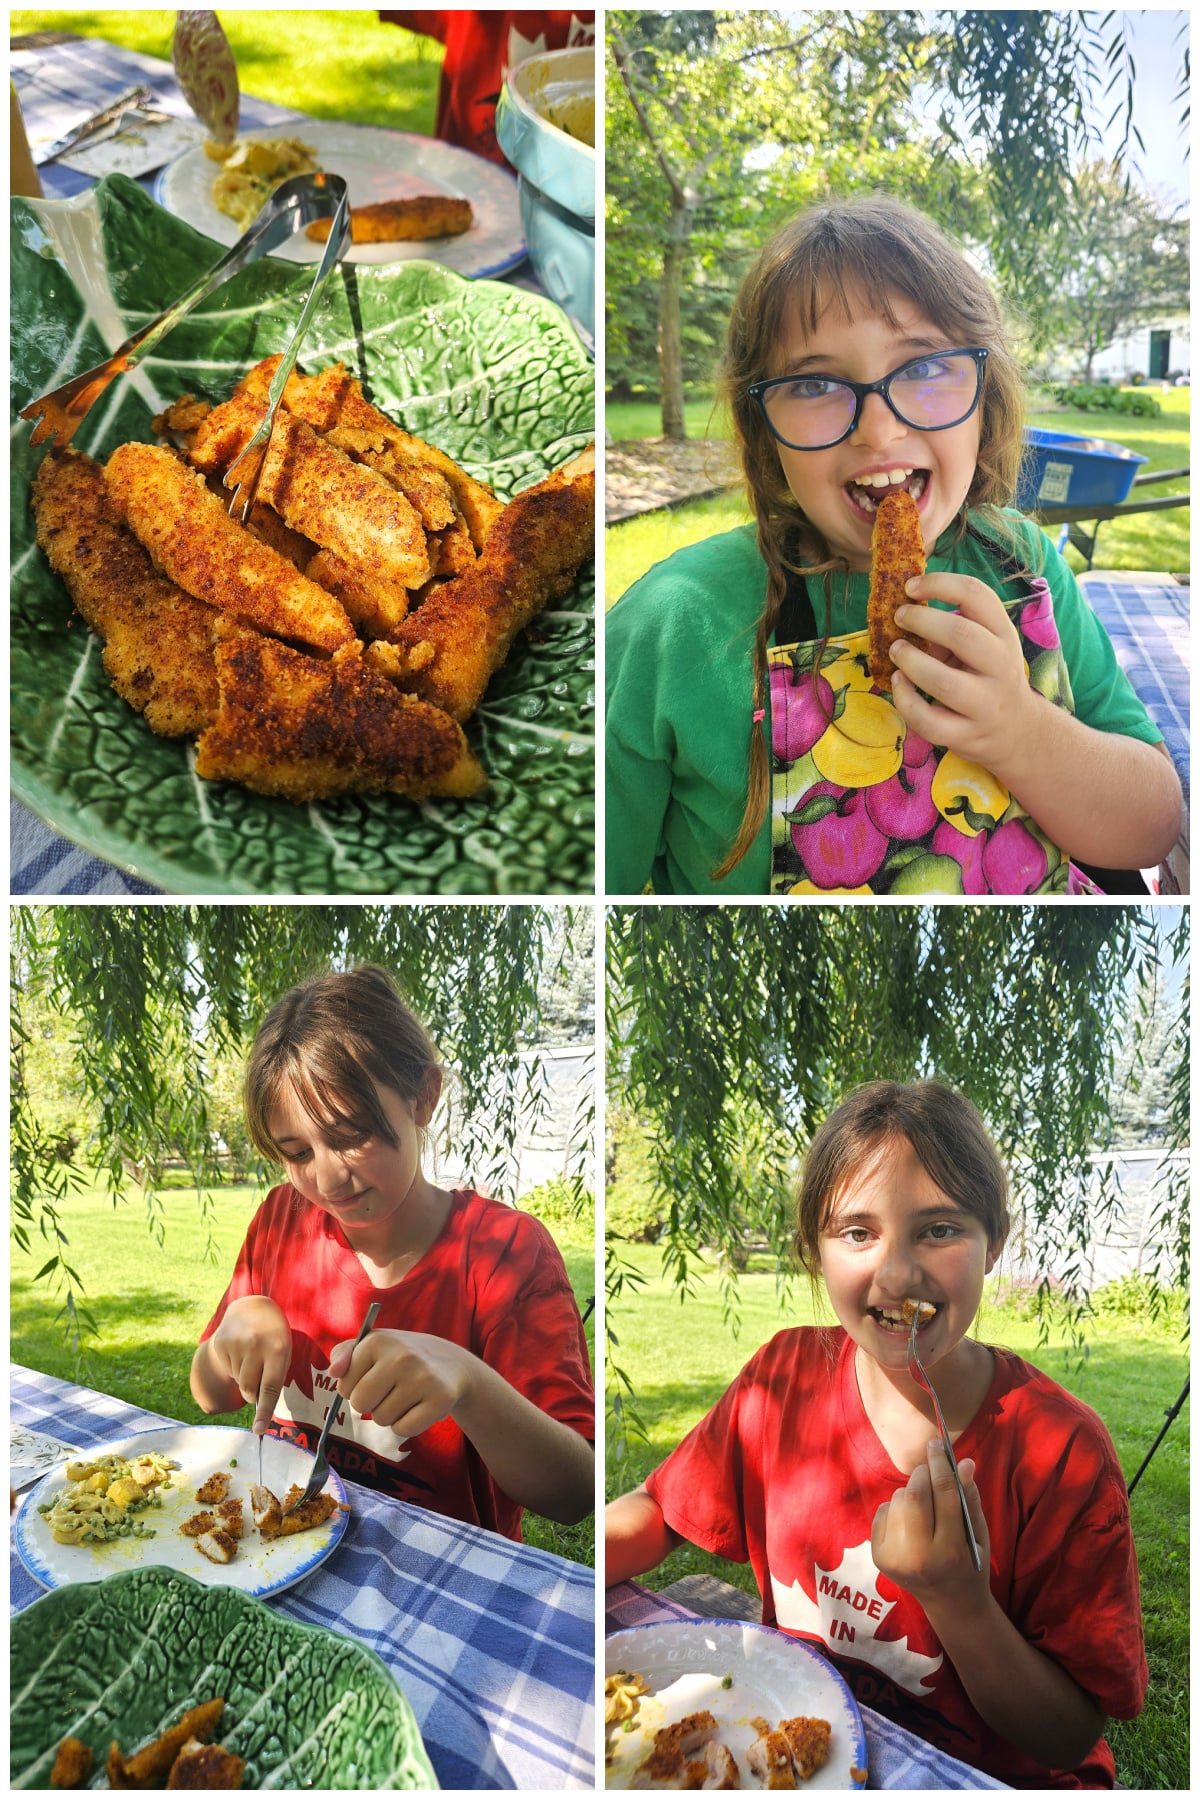
We toasted our sunny picnic with bottles of refreshing Cantaloupe Creamsicle Smoothies.
Want to receive new Kitchen Frau recipes directly to your email as soon as they're posted? Sign up here and you’ll get bits of news updates on what's happening in my kitchen and garden, plus a handy and useful kitchen tip along with each recipe, too. (No spam ever.)
If you like my recipes, follow me on Instagram, Pinterest, and Facebook. You’d make my day. 😊
Guten Appetit!

Cheesy Chicken Fingers
Ingredients
- 1 lb (454 g) chicken tenders or chicken breast, cut into long strips
- ¼ cup (35 g) flour, or any kind of gluten-free flour, if necessary
- 2 large eggs
- 6 tablespoons (5 g) finely grated Parmesan cheese
- 6 tablespoons (50 g) fine, dry breadcrumbs, gluten-free if necessary
- 1 teaspoon onion powder
- 1 teaspoon sweet paprika
- ½ teaspoon garlic powder
- ½ teaspoon dry mustard powder
- ½ teaspoon fine sea salt
- ½ teaspoon black pepper
- ¼ cup flavourless oil, for frying
Instructions
- Set out three shallow bowls. Put the flour in one. Put the eggs in another and beat them with a fork until they are smooth. Stir together the Parmesan cheese, breadcrumbs, onion powder, paprika, garlic powder, dry mustard, salt, and pepper in the third bowl.
- Dip each chicken tender (or chicken breast strip) first in the flour, making sure it's coated completely, and shake off the excess. Then dip it into the beaten egg, making sure it's coated completely. Then dip it into the breadcrumb mixture, again making sure it's completely coated with the crumbs.
- Tip: Use your left hand to dip the chicken pieces in the flour, then use your right hand to dip it into the egg and crumbs - this keeps your fingers from getting quite so 'gunked' up.
- Lay the crumb-coated pieces of chicken onto a tray or plate in a single layer so they are not touching each other.
- Heat a large skillet over medium heat and add the oil to it. Fry the chicken fingers until dark golden on each side, about 3-4 minutes per side, in batches if necessary.
- To test if they are done, cut open the thickest part of one of the chicken fingers and make sure it is no longer pink inside, or insert an instant-read thermometer into the thickest part - it should read 165°F (74°C).
- Lay the fried chicken fingers onto a paper-towel-lined plate to absorb any excess oil.
- Serve immediately or keep them warm in a low oven.
Leave a Reply